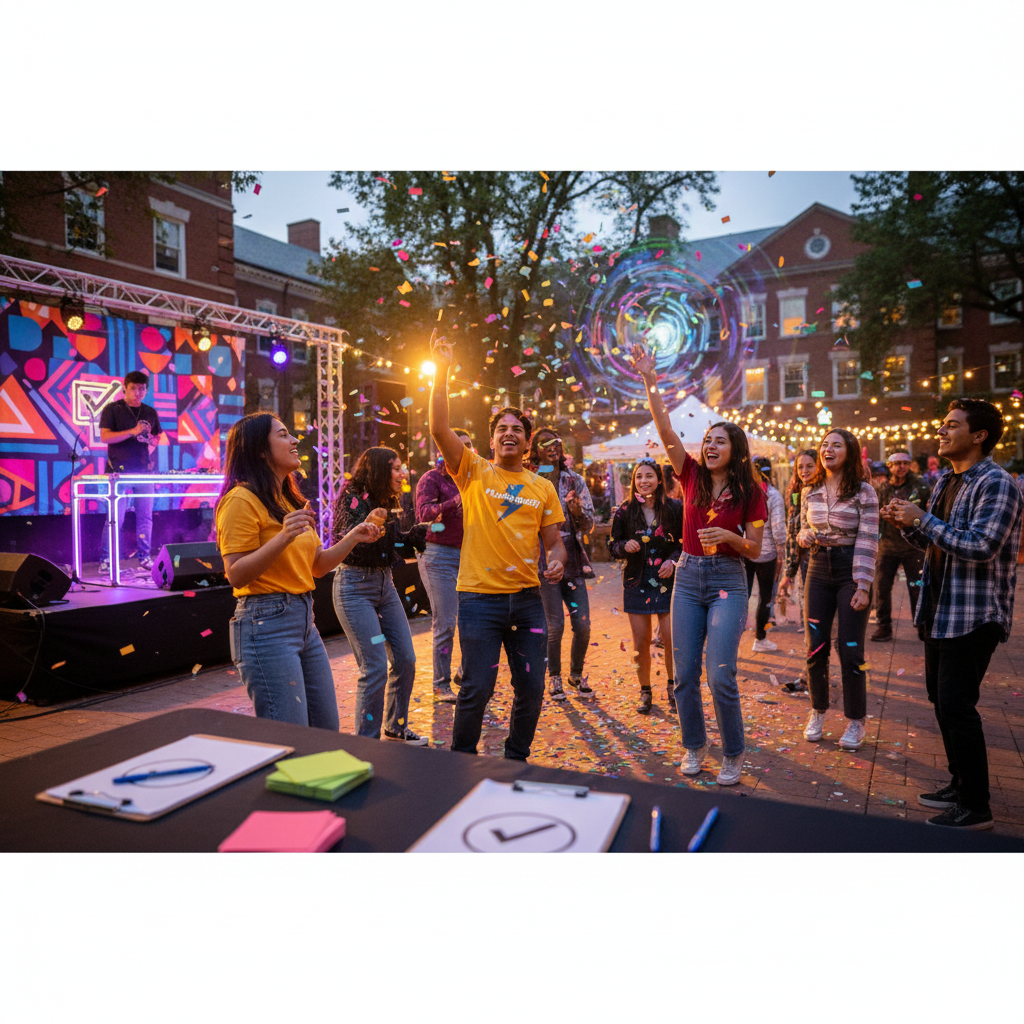
Campus event planning checklist for student organizations
Running a student organization means you’re constantly juggling classes, social life, and club responsibilities. When it comes to hosting an event, the pressure is on to create something that boosts engagement, attracts new members, and makes your group shine. A solid campus event planning checklist is your secret weapon, turning a mountain of tasks into a manageable, step-by-step process that ensures you don’t miss a single detail.
Whether you're organizing a panel discussion, a charity fundraiser, or a large-scale social gathering, this guide will walk you through every phase. Let's break down the process into a timeline, from months out to the day of the event and beyond.
Phase 1: The Foundation (2–3 Months Out)
The most successful campus events are built on a strong foundation of clear goals and early planning. Rushing these initial steps is a recipe for chaos later on. Give your team ample time for brainstorming and big-picture thinking.
Define Your "Why" and "Who"
Before you book a room or design a flyer, get crystal clear on your event’s purpose. Ask your executive board and members these critical questions:
- What is the primary goal? Is it to recruit new members, raise money for a cause, provide educational value, celebrate a milestone, or simply build community within your organization? A clear goal will guide all future decisions.
- Who is your target audience? Are you aiming for freshmen in a specific major, the entire student body, faculty, or a mix? Knowing your audience determines your marketing, tone, and the type of event you plan.
Brainstorm Event Ideas
With your "why" and "who" defined, you can start generating ideas. Think about what kind of event will best achieve your goals. A career networking night is great for a professional development club, while an outdoor movie screening is perfect for a campus-wide social event.
Don't limit yourself initially. Hold a brainstorming session and get everyone's input. If your primary goal is to throw a fun social mixer, our guide on planning a college party specifically offers tailored advice for that type of gathering.
Establish a Realistic Budget
Your budget is the backbone of your event. Most student organizations have limited funding, so every dollar counts.
- Investigate Funding Sources: Where will the money come from? Check with your student government association (SGA), campus life office, or faculty advisor about funding application processes and deadlines. These often occur months in advance.
- Estimate Costs: List every potential expense. This includes venue fees (if any), speaker fees, food and drinks, marketing materials (flyers, banners), decorations, A/V equipment rentals, and security.
- Build in a Contingency: Always add a 10-15% contingency fund to your budget for unexpected costs. It’s better to have it and not need it than to need it and not have it.
Select a Date and Time
Choosing the right date is critical for maximizing attendance. Get out your campus academic calendar and look for potential conflicts.
- Avoid Major Conflicts: Steer clear of exam periods, major holidays, school breaks, and dates with other huge campus-wide events (like homecoming weekend or a major sporting event unless your event is tied to it).
- Consider Your Audience's Schedule: If you’re targeting commuter students, a midday event might work better than one late at night. For a traditional student audience, evenings after 5 PM on a Tuesday, Wednesday, or Thursday are often prime time.
Phase 2: Nailing Down the Logistics (1–2 Months Out)
With a plan in place, it’s time to start making it real. This phase is all about locking in the key components of your event. This is the part of your campus event planning checklist where you'll be dealing with contracts, forms, and a lot of emails.
Reserve Your Venue
Campus venues get booked up fast, especially popular ones. As soon as you have a date, reserve your space.
- Explore On-Campus Options: Look into lecture halls, student union ballrooms, outdoor quads, and classroom spaces. Check the capacity, available tech (projectors, mics), and booking policies for each.
- Submit Official Requests: Most universities have a centralized event services office or an online portal for venue reservations. Submit your request as early as possible.
- Get Confirmation in Writing: Don't assume your space is booked until you have an official confirmation email or document.
Secure Vendors, Speakers, or Talent
If your event involves external people or services, get them under contract now. This includes caterers, DJs, guest speakers, performers, or rental companies for things like photo booths or special lighting.
- Get Quotes: Reach out to multiple vendors to compare pricing and services.
- Check Campus Policies: Many universities have a list of pre-approved vendors, especially for catering. Using a non-approved vendor may require extra paperwork and insurance verification.
- Sign Contracts: A formal agreement protects both you and the vendor. Make sure it clearly outlines the services, date, time, and payment schedule.
Navigate University Rules and Paperwork
This is arguably the least fun but most important part. Every campus has its own set of rules for student events. Failure to comply can get your event shut down.
- Meet with Your Advisor: Your faculty or staff advisor is your best resource. They can help you navigate the bureaucracy.
- Submit Necessary Forms: This could include event registration forms, security requests, alcohol permits (if applicable and allowed), and A/V tech requests.
- Understand the Deadlines: These administrative deadlines are often non-negotiable. Add them to your planning timeline.
Phase 3: Promotion & Engagement (4–6 Weeks Out)
You can plan the greatest event in the world, but it won’t matter if no one knows about it. A multi-channel promotional strategy is key to getting people in the door.
Create Your Marketing Materials
Develop a consistent brand for your event. Use the same colors, fonts, and logos across all materials to build recognition.
- Design a Core Visual: Create a compelling graphic or poster that includes all essential information: event title, date, time, location, your organization's name, and a brief, catchy description.
- Write Your Copy: Craft clear and concise messaging. What is the event? Why should someone come? What will they get out of it?
Spread the Word Physically on Campus
Old-school marketing still works wonders in a concentrated environment like a college campus.
- Flyers and Posters: Post them in high-traffic areas like the student union, library, dining halls, and academic buildings relevant to your target audience. Make sure to follow campus posting policies.
- Chalking: Sidewalk chalk is a cheap and effective way to grab attention on main campus walkways.
- Tabling: Set up a table in the student union or a busy quad a week or two before the event. Hand out flyers, talk to students, and maybe even have a small giveaway to generate buzz.
Leverage Digital Channels
Your digital promotion plan should be just as robust as your physical one.
- Social Media: Create a Facebook event page. Post consistently on your organization’s Instagram, Twitter, and TikTok accounts. Use relevant campus hashtags. Create engaging content like countdowns, behind-the-scenes looks, and speaker spotlights.
- Campus Calendars: Submit your event to the official university-wide online calendar, as well as any departmental or student life calendars.
- Email and Newsletters: Ask your department, the student life office, or other friendly organizations to include your event in their newsletters.
Phase 4: Final Preparations (1 Week Out)
The final push is here. Use this week to triple-check every detail and prepare your team for a smooth execution. A well-organized final week prevents day-of panic.
Confirm Everything and Everyone
Do not assume anything. Reach out and confirm with every single person and service involved.
- Vendors and Speakers: Call or email your caterer, speaker, DJ, etc., to re-confirm arrival times, their needs (like parking or a bottle of water), and the final payment schedule.
- Venue and Tech: Confirm your room reservation and any A/V or equipment requests you made. Do a final walkthrough if possible.
- Volunteers: Send a detailed email to everyone on your team who will be working the event. Include their specific roles, arrival times, and the day-of schedule.
Create a Detailed Day-Of Schedule
This timeline is your playbook for event day. It should list what needs to happen, where it needs to happen, and who is responsible, broken down by the hour (or even half-hour).
A sample schedule might look like this:
- 3:00 PM: Event lead and setup crew arrive at the venue.
- 3:15 PM: Check in with venue manager, begin table/chair setup.
- 4:00 PM: Caterer and DJ arrive. Direct them to their setup locations.
- 4:30 PM: All volunteers arrive for briefing. Assign check-in roles.
- 5:00 PM: Doors open. Check-in team begins greeting guests.
- 5:30 PM: Welcome remarks from the organization president.
Assemble an Event Day Kit
Prepare a box or bag with everything you might possibly need. This "go-kit" has saved countless events from minor disasters. Include items like:
- Tape (gaffer's and Scotch)
- Scissors
- Extension cords and power strips
- Pens and sharpies
- First-aid kit
- Printed copies of the schedule, vendor contacts, and volunteer roles
- Phone chargers
- Snacks and water for your team
Phase 5: Event Day & Post-Event Wrap-Up
It's showtime! All your hard work comes down to this. But remember, the event isn't truly over until the final follow-up tasks are complete. Following your complete campus event planning checklist up to the very end is what separates good events from great ones.
During the Event
- Stay Calm and Delegate: You’ve created a schedule and assigned roles. Trust your team. As the event lead, your job is to float, troubleshoot problems, and be the main point of contact.
- Engage with Guests: Make sure you and your team are visible, friendly, and talking to attendees. Thank them for coming.
- Capture the Moments: Assign someone to be the designated photographer or videographer. Great photos are invaluable for future marketing and showing your student government how successful the event was.
Post-Event Follow-Up
The work continues for a few days after the event ends. Wrapping up properly ensures your organization maintains a professional reputation and sets you up for future success.
- Clean Up: Follow all venue clean-up policies. Leaving a space better than you found it is a great way to stay in the good graces of the event services staff.
- Send Thank Yous: Within 48 hours, send personalized thank-you emails to your advisor, speakers, vendors, and any campus departments that helped you. A little gratitude goes a long way.
- Gather Feedback: Send a short survey to attendees to ask what they liked and what could be improved. This data is gold for planning your next event.
- Hold a Debrief Meeting: Meet with your team to discuss what went well and what didn't. Update your campus event planning checklist with your new learnings.
- Handle Finances: Process final payments to vendors and submit all reimbursement forms to your funding source. A clean financial record is essential.